
How to use an espresso machine comes down to a short routine you repeat every time: grind, dose, tamp, brew, then steam milk if you want it. The numbers are simple to remember: about 18 g of coffee in, about 36 g of espresso out, in 25 to 30 seconds. Once you have them, every shot becomes easier to repeat.
This guide covers a typical home semi-automatic machine with a portafilter and steam wand, from first-time setup to cleaning.
The short answer
| Step | What to do | Target |
|---|---|---|
| 1. Heat | Turn on and let the machine fully warm up | Ready light steady |
| 2. Grind | Grind fresh beans fine | Like fine table salt |
| 3. Dose | Fill the double basket | 16–21 g, by basket size |
| 4. Tamp | Press level and firm | Consistent pressure |
| 5. Purge | Run a little water through the group head | 1–2 seconds |
| 6. Brew | Lock in and start the shot | 25–30 s, about 1 : 2 |
| 7. Steam | Froth milk if needed | 60–65 °C (140–150 °F) |
| 8. Clean | Knock out, rinse, purge the wand | After every use |
Before you use an espresso machine for the first time
New machines need a quick flush before the first coffee.
- Rinse the water tank and fill it with fresh, cold water. Filtered water is ideal; Breville’s instructions advise against distilled or demineralized water, which can affect taste and the machine.
- Turn the machine on and let it heat until the ready light stops flashing.
- Run water through every outlet: the group head (brew a “shot” with no coffee), the steam wand and the hot water spout. Repeat until the tank has cycled through.
- Soak or rinse the portafilter and baskets to remove any manufacturing residue.
Your first few shots are practice. Expect to adjust the grind before one tastes right.
Step 1: Let it heat up fully
Espresso is sensitive to temperature, so give the machine time. Most home machines show a ready light, but the metal portafilter and group head take longer to warm through. Leave the portafilter locked in the group head while the machine heats so it reaches brewing temperature too.
The brewing water itself should be around 195–205 °F (90–96 °C). Your machine handles this automatically; your job is to let it stabilize.
Step 2: Grind fresh beans
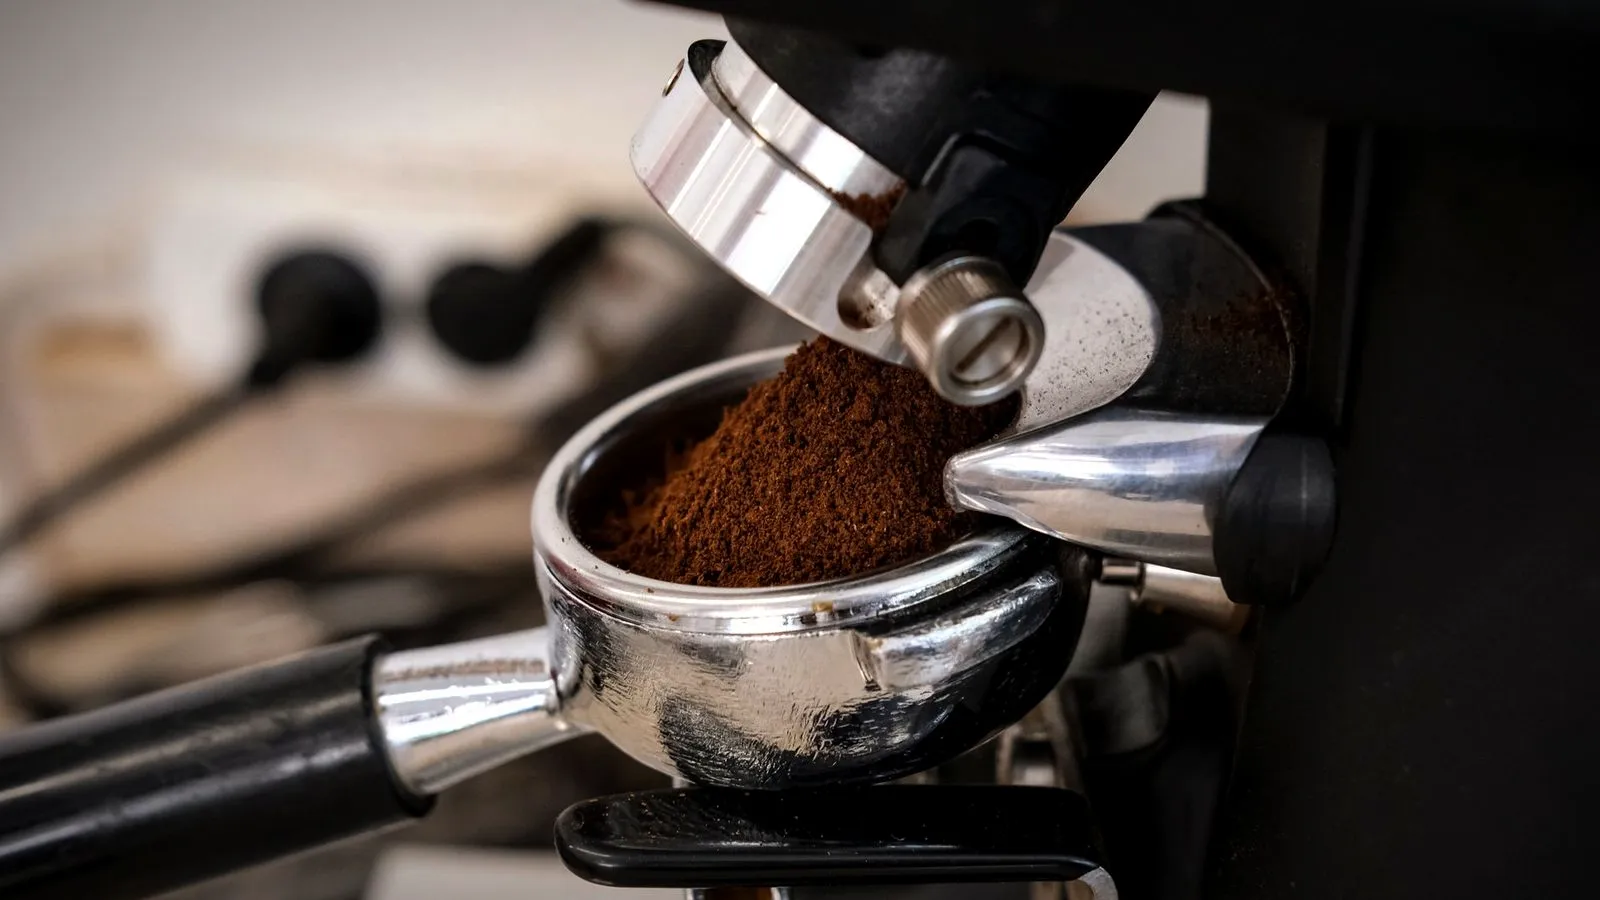
Grind just before brewing, to a fine consistency a little finer than table salt. Grind size is the main control you have over the shot: finer slows the water down, coarser speeds it up.
If you do not have a grinder and use pre-ground coffee, use the machine’s pressurized (dual-wall) basket if it has one. Our guide to espresso grounds explains why.
Fresh beans matter too. Coffee within about one to four weeks of its roast date gives the best crema and flavor. If you are choosing beans, see espresso beans vs coffee beans.
Step 3: Dose the basket
Use the double basket; it is easier to get good results with. Baskets are made for a set amount of coffee, so dose to the basket:
- 54 mm portafilter (common on smaller home machines): Breville’s Barista Express manual rates its double basket at about 16–19 g and its single at about 8–11 g.
- 58 mm portafilter (the commercial size): La Marzocco’s setup guide for the Linea Micra suggests the 17 g or 21 g basket for a modern espresso, filled with that many grams of coffee.
A small kitchen scale that reads 0.1 g makes a big difference. After dosing, tap the portafilter gently or level the grounds with a finger so the bed is even before tamping.
Step 4: Tamp level and consistently
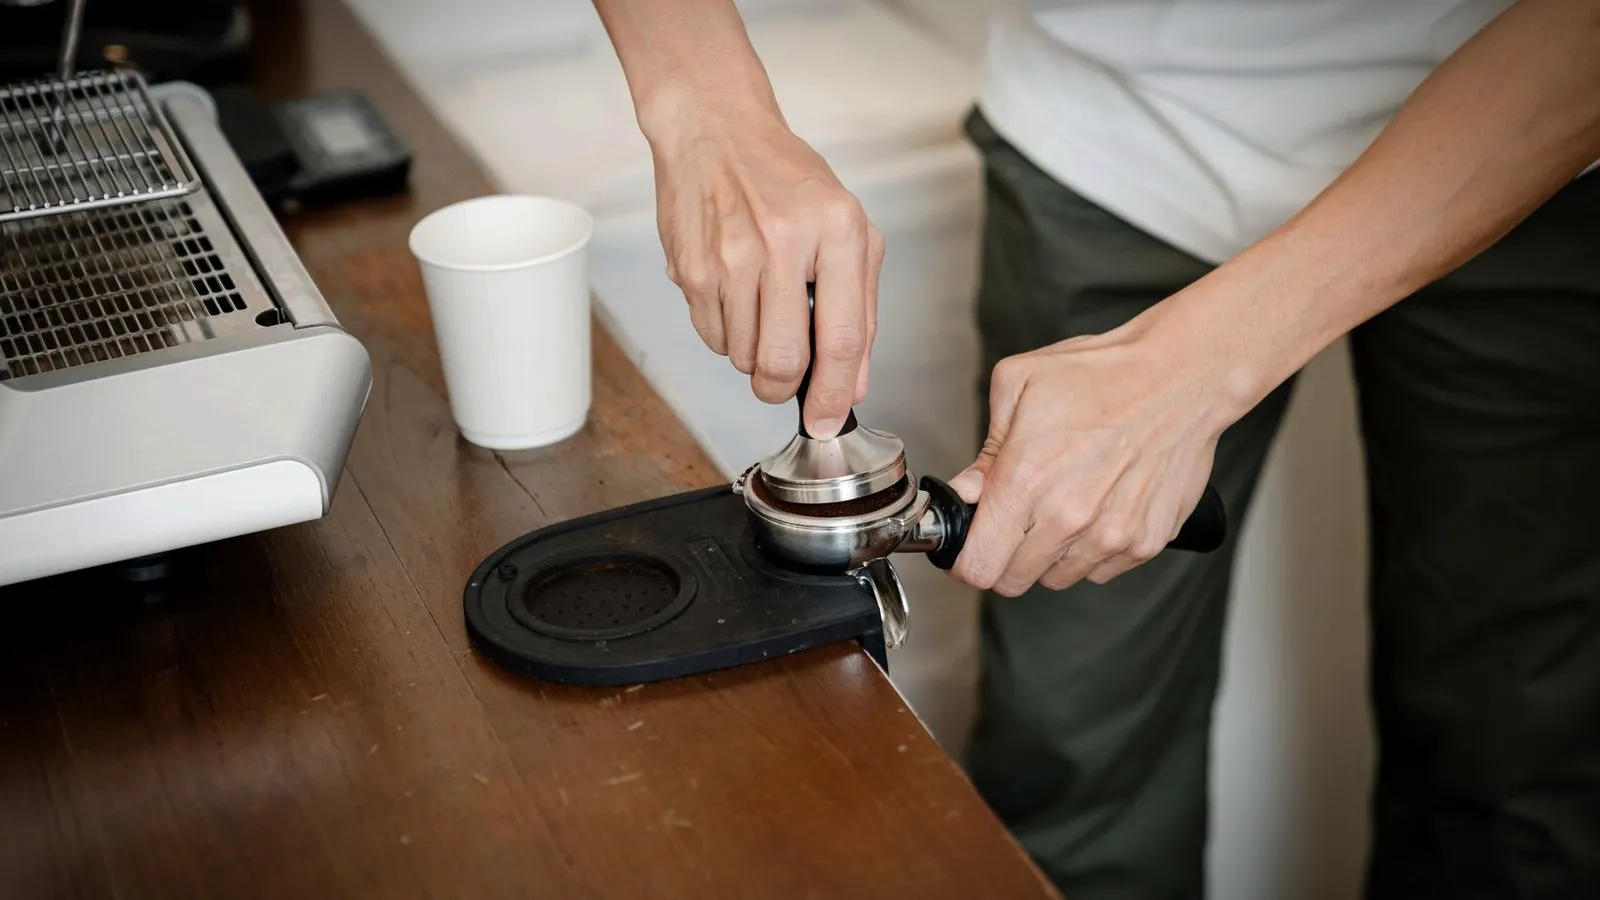
Rest the portafilter on a flat surface or tamping mat and press straight down with the tamper until the coffee is firm and level. Breville’s manual suggests roughly 22–33 lb (10–15 kg) of pressure and points out that consistent pressure every time matters more than an exact number.
A level tamp is more important than a hard one. If the coffee bed is tilted, water finds the thin side and the shot tastes uneven. Our guide on how to tamp espresso covers the technique and common mistakes.
Step 5: Purge the group head
Before locking in the portafilter, run the pump for a second or two with nothing attached. This flushes old coffee grounds from the shower screen and helps stabilize the temperature.
Step 6: Pull the shot
- Lock the portafilter in firmly.
- Place a preheated cup or a glass on a scale underneath.
- Start the shot straight away, so the hot group head does not start cooking the coffee.
- Watch the timer. On many machines, espresso starts to drip after a few seconds of low-pressure pre-infusion.
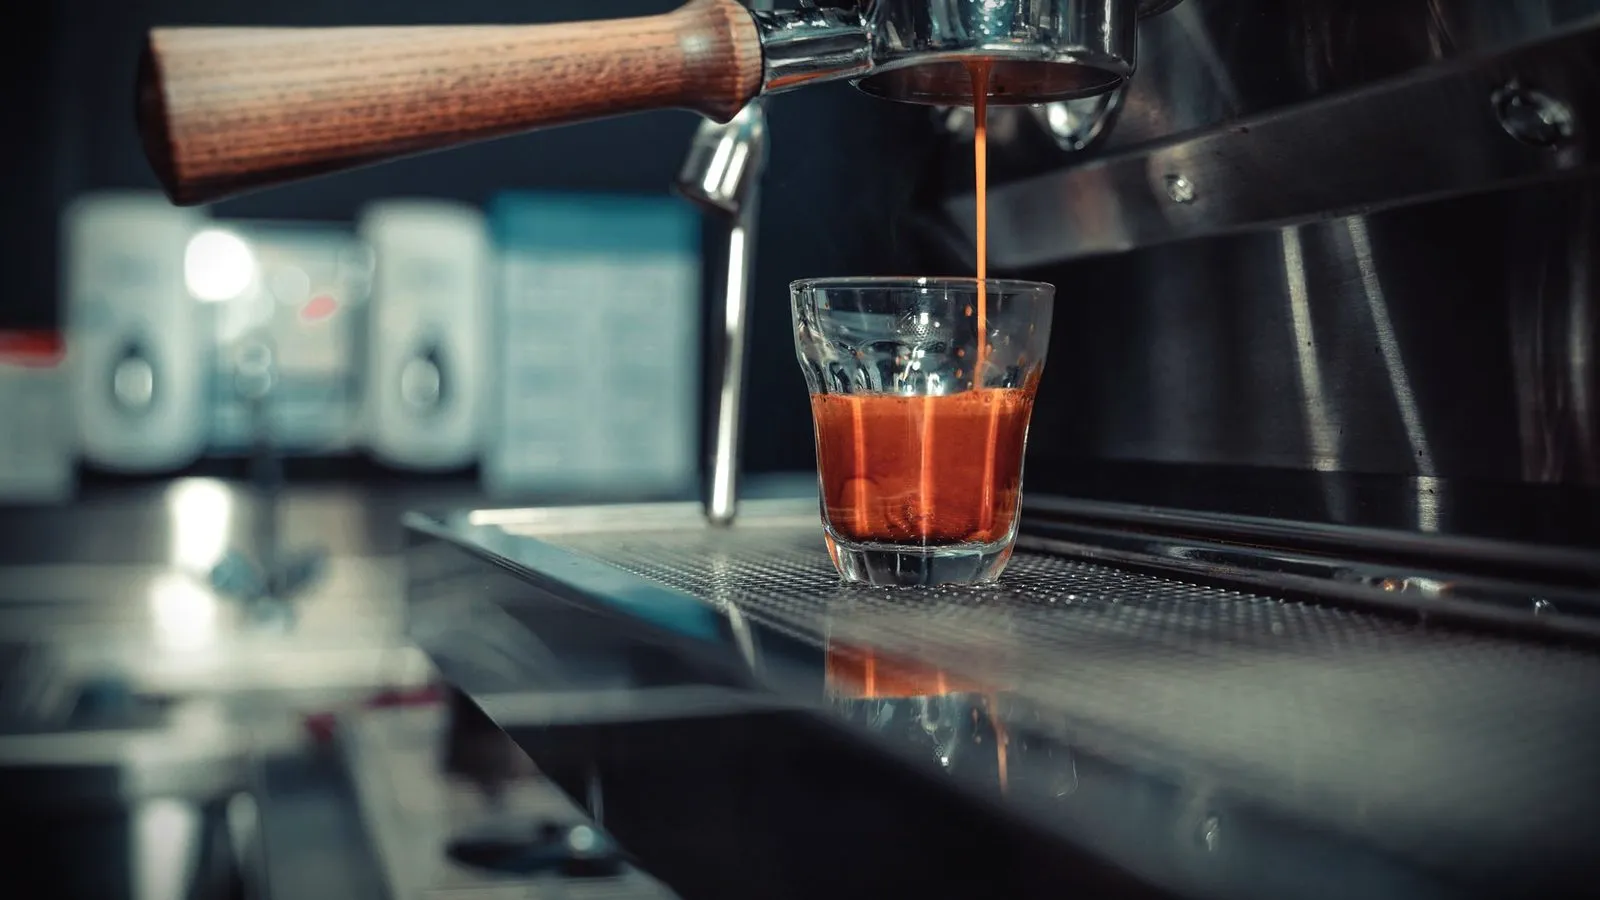
- Stop at about 36 g of espresso (or about 2 oz), usually in 25 to 30 seconds.
A survey of professional baristas published by the Specialty Coffee Association found typical recipes of 18–20 g in, about 36 g out, in 25–30 seconds at around 9 bar. That is a good starting point for home too.
How to read and fix your shot
| What you see and taste | Likely cause | Fix |
|---|---|---|
| Runs in under 20 s, sour, thin, pale crema | Grind too coarse or dose too low | Grind finer |
| Takes over 35 s, bitter, harsh, dark crema | Grind too fine or dose too high | Grind coarser |
| Spurts, uneven stream | Uneven distribution or tamp | Level the grounds, tamp straight |
| Tastes flat, little crema | Stale beans | Use fresher beans |
Change one thing at a time, usually the grind, and taste each shot. If spurts keep coming back, a bottomless portafilter lets you see exactly where the water breaks through. If shots still taste harsh after grinding coarser, check the other causes in why espresso tastes bitter, such as water temperature, roast and a dirty group head.
Step 7: Steam the milk
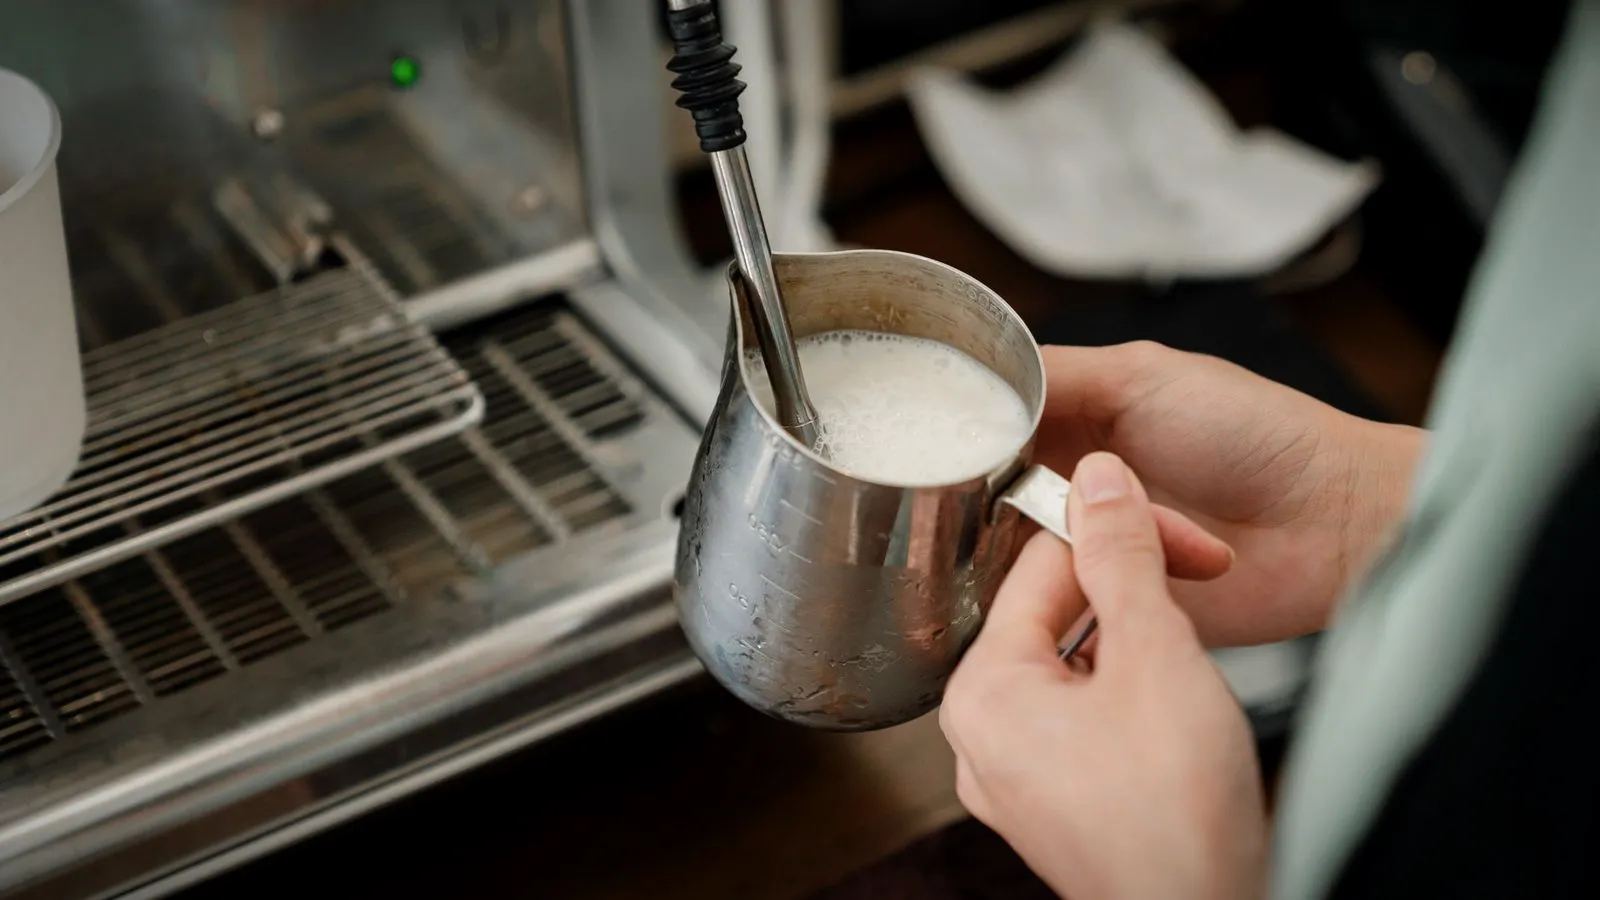
If you are making a latte or cappuccino:
- Purge the steam wand for a second to clear condensed water.
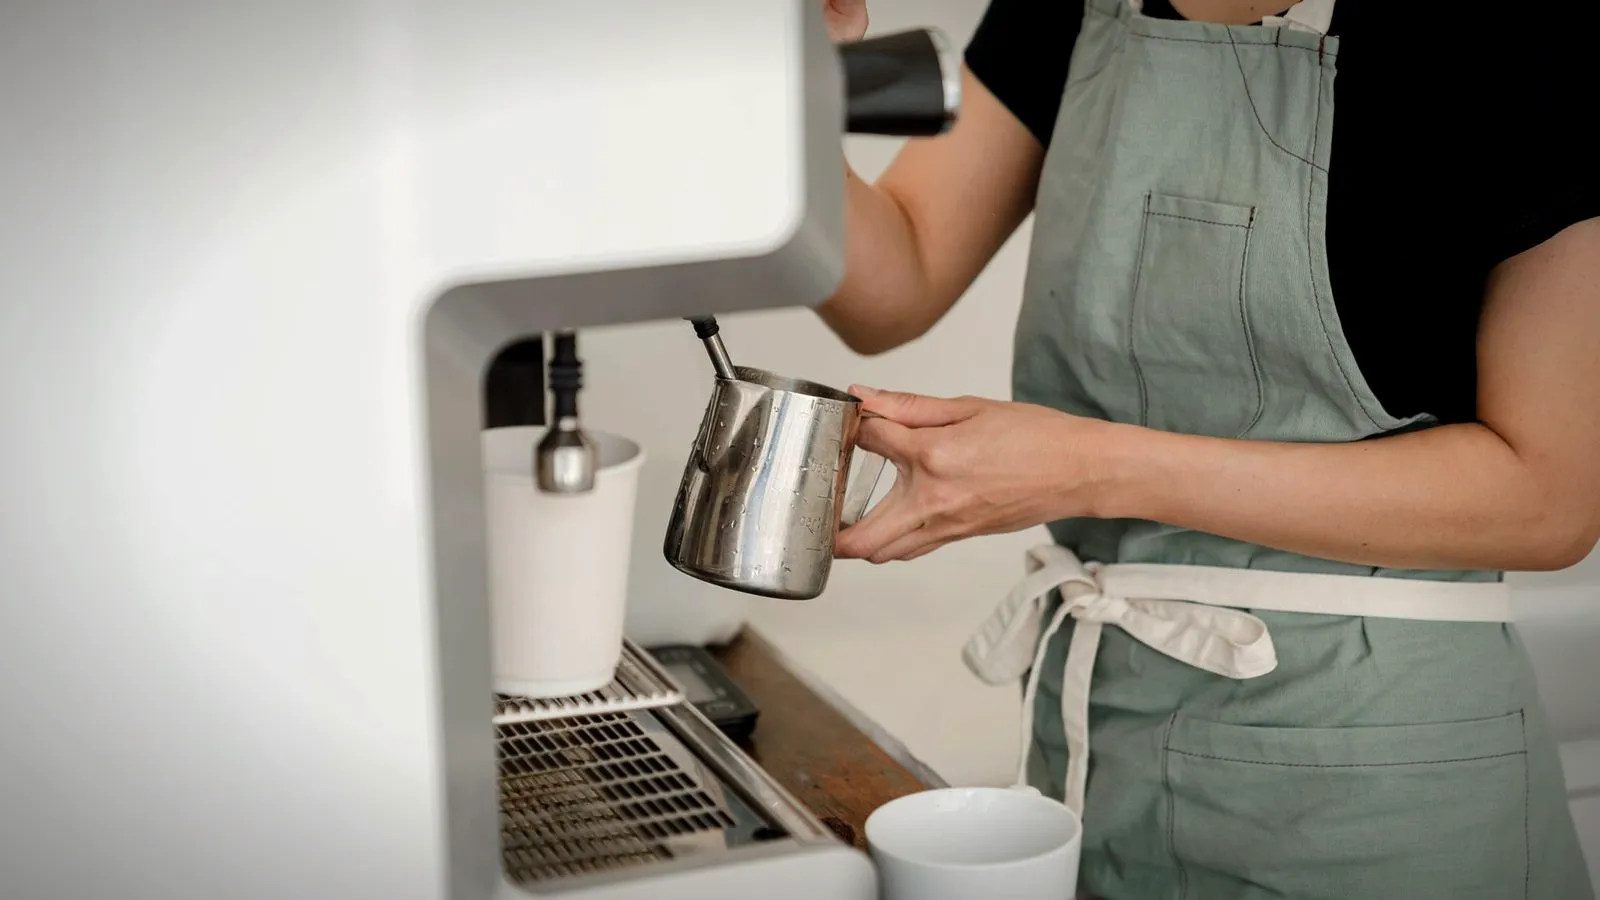
- Start with cold milk in a stainless pitcher, below the spout.
- Place the tip just under the surface to add air, then lower it slightly to spin the milk.
- Stop at 60–65 °C (140–150 °F), when the pitcher is hot to hold.
- Wipe and purge the wand immediately so milk does not dry on it.
For milk types, ratios and temperatures, see our guide to espresso with milk, and for drink recipes our types of espresso drinks chart.
Step 8: Clean the espresso machine after every use
- Knock out the puck into a knock box or bin, then rinse the basket.
- Purge the group head briefly to rinse the shower screen.
- Wipe and purge the steam wand after every use.
- Empty the drip tray regularly.
Backflushing vs descaling
These are two different jobs:
- Backflushing cleans coffee oils from the group head, using a blind basket or cleaning disc and a cleaning tablet. Breville’s manual describes this cleaning cycle as separate from descaling.
- Descaling removes mineral scale from inside the boiler and pipes, using a descaling solution. How often depends on how hard your water is.
Follow your machine’s manual for both. Neglecting them is the most common reason home espresso slowly starts to taste worse. For a full daily, weekly and monthly routine, see how to clean an espresso machine.
Common mistakes when using an espresso machine
- Not letting the machine heat up fully.
- Using old or pre-ground coffee in a standard basket.
- Changing several things at once when dialing in espresso.
- Tamping unevenly instead of level.
- Leaving milk on the steam wand, where it hardens and blocks the tip.
The bottom line
To use an espresso machine, heat it fully, grind fresh beans fine, dose about 18 g, tamp level, purge the group head and pull about 36 g of espresso in 25 to 30 seconds. Adjust the grind until it tastes balanced, steam milk to 60–65 °C if you want it, and clean as you go. After a week of practice, the routine takes only a few minutes.
Sources
- Breville: Barista Express BES870 instruction book (first use, 54 mm basket doses of 8–11 g and 16–19 g, tamping, purging, milk temperature, cleaning cycle)
- Specialty Coffee Association: Defining the ever-changing espresso (archived; barista survey of dose, yield, time, pressure and temperature)
- La Marzocco: Setting up your Linea Micra (58 mm tamper; 14 g, 17 g and 21 g baskets)