
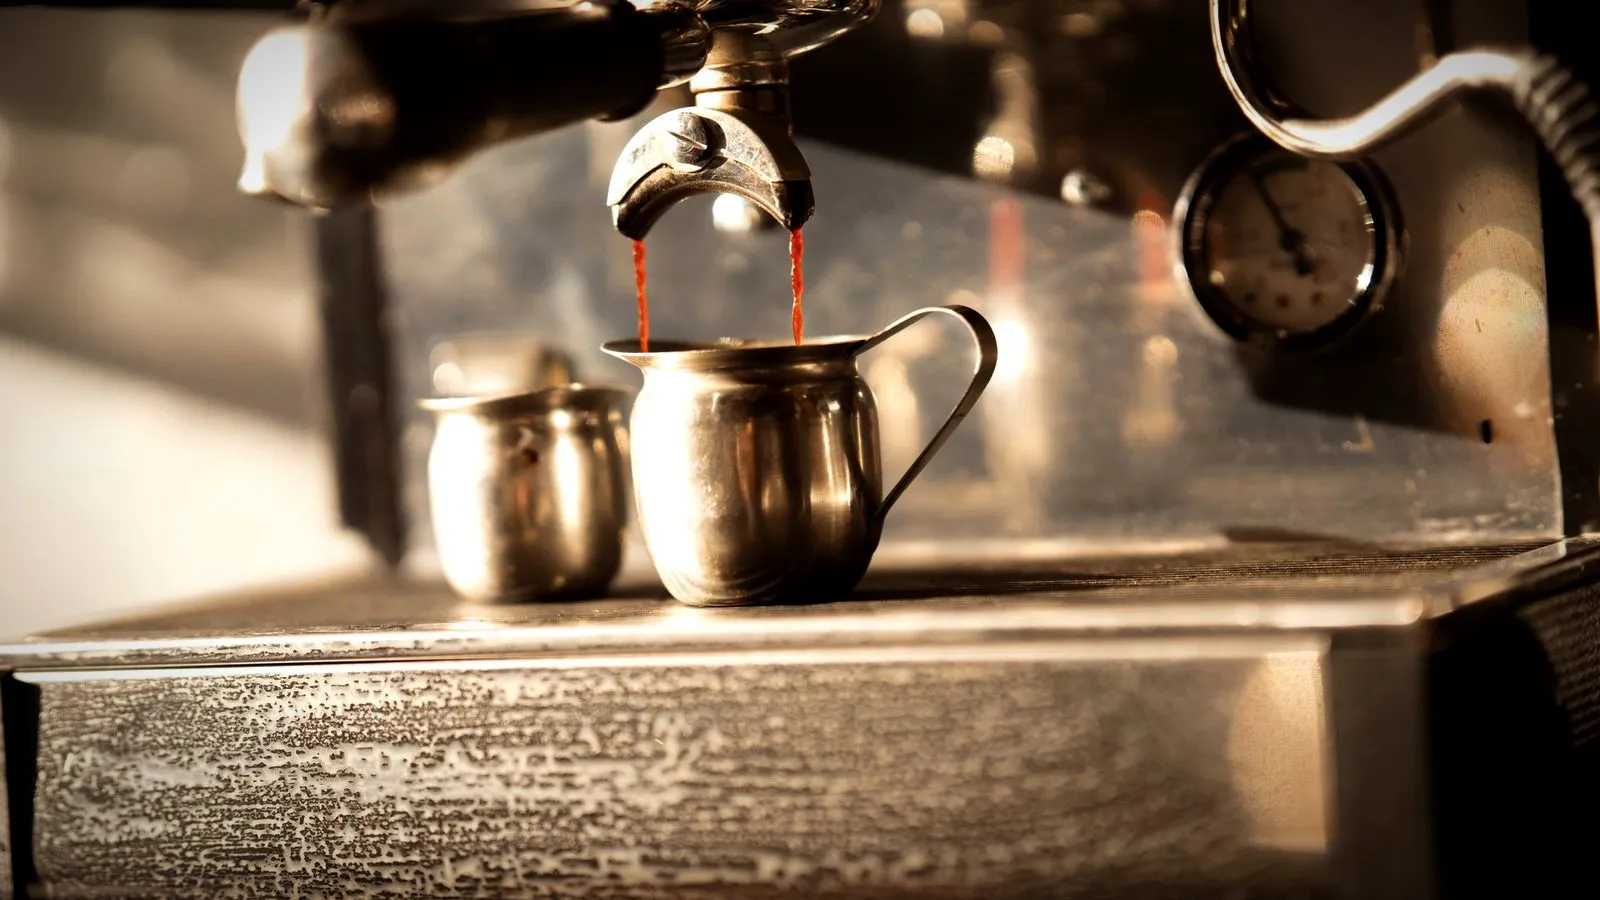
An espresso machine pressure gauge shows how much pressure the pump is pushing through your coffee, or, on some machines, how much steam pressure is in the boiler. During a shot, a brew gauge should settle at about 9 bar. A reading far below or above that points to your grind, dose or machine settings.
This guide covers both gauge types, reading the needle, box ratings, portafilter gauges and profiling. New to the routine? Start with how to use an espresso machine.
The short answer
| Gauge | What it measures | Normal reading |
|---|---|---|
| Brew pressure gauge | Water pressure on its way through the coffee | About 9 bar while brewing (8–10 bar on La Marzocco’s Linea Micra) |
| Boiler gauge, heat exchanger machine | Steam pressure in the single boiler | 0.9–1.2 bar on Rocket’s Appartamento TCA |
| Steam boiler gauge, dual boiler machine | Steam pressure in the separate steam boiler | 1.3–2 bar on the Linea Micra |
| Portafilter gauge (test tool) | Pressure at the group with no coffee flowing | The maximum the pressure valve allows |
| “15 bar” on the box | The pump’s nominal maximum | Not brew pressure; Gaggia and Breville brew at 9 bar |
What does an espresso machine pressure gauge do?
An espresso machine pressure gauge turns resistance, something you cannot see, into a number you can watch. Pressure only builds when the coffee puck slows the water down, so a coarse grind, a light dose or a weak tamp leaves the needle low.
That makes the gauge a diagnostic tool rather than a control: you change the puck, and the gauge confirms the result. Breville’s Dual Boiler troubleshooting table pairs a gauge that does not reach 9 bar with shots that run too fast, and prescribes a finer grind, more coffee and a firmer tamp. Our guides to espresso grind size and how to tamp espresso cover both.
Brew pressure gauge vs boiler pressure gauge
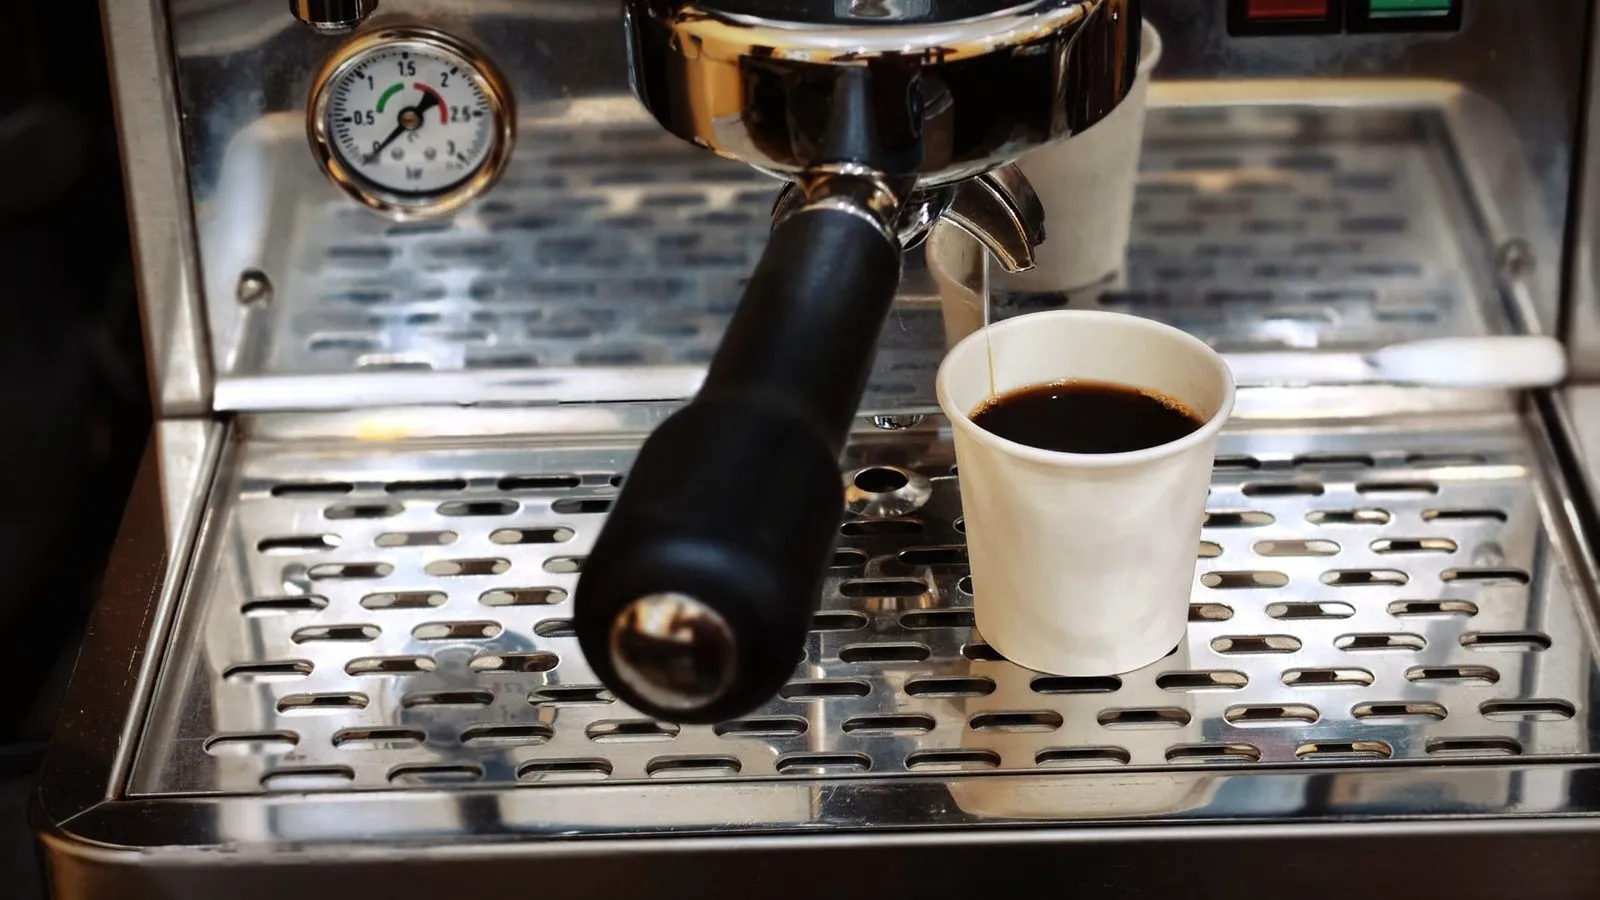
A brew pressure gauge reads the water pressure on the way to the coffee, while a boiler pressure gauge reads steam pressure inside a boiler, and the two work on very different scales. Mixing them up can make a healthy machine look as if it brews at 1 bar.
Heat exchanger (HX) machines have one boiler that makes steam and heats the brew water in a tube running through it, so boiler pressure also sets how hot the brew water runs. Rocket’s Appartamento TCA, with a 1.8 L copper heat exchanger boiler, uses boiler pressure settings from 0.9 to 1.2 bar as its temperature control. A boiler needle near 1 bar there is normal.
Machines with two dials, such as Rocket’s Giotto FAST, show both readings. On La Marzocco’s Linea Micra, a dual boiler machine, the coffee group gauge should read 8–10 bar when brewing, while the steam boiler gauge sits at about 1.8 bar from the factory and can run between 1.3 and 2 bar. If your gauge has no label, the parts diagram in your manual names it.
Why a brew gauge can read high before you brew
On machines with a water-filled brew group, the gauge can climb while the machine heats up, because hot water expands in a closed space. La Marzocco says the Linea Micra’s coffee group gauge reaches about 12 bar during warm-up, where an expansion valve stops it. That idle reading is normal and says nothing about your last shot.
What to check before adding or buying a pressure gauge
Before you fit a gauge or choose a machine because it has one, check what the gauge measures and whether you can act on it:
- Which pressure it reads. A boiler gauge never shows shot pressure; for dialing in, you want a brew gauge.
- Your basket type. Breville says its Dual Wall baskets “regulate the pressure” regardless of grind, dose or tamp. With pressurized baskets, the needle reports on the basket, not your puck.
- Whether pressure is adjustable. With a fixed valve, the gauge can only diagnose the puck. Gaggia’s Classic GT, by contrast, has an externally adjustable over-pressure valve (OPV) with a 6 to 12 bar range.
- Readable markings. The dial should cover your machine’s maximum with room to spare and be easy to read around 9 bar. Some gauges use zones instead of numbers.
- Units. US gauges may read in pounds per square inch (psi); 9 bar is about 130 psi.
- Fit and warranty. A portafilter gauge attaches where the spouts go, so it will not work on a bottomless portafilter; fitting a gauge inside a machine means opening the case, so read your warranty first.
How to read the needle during a shot
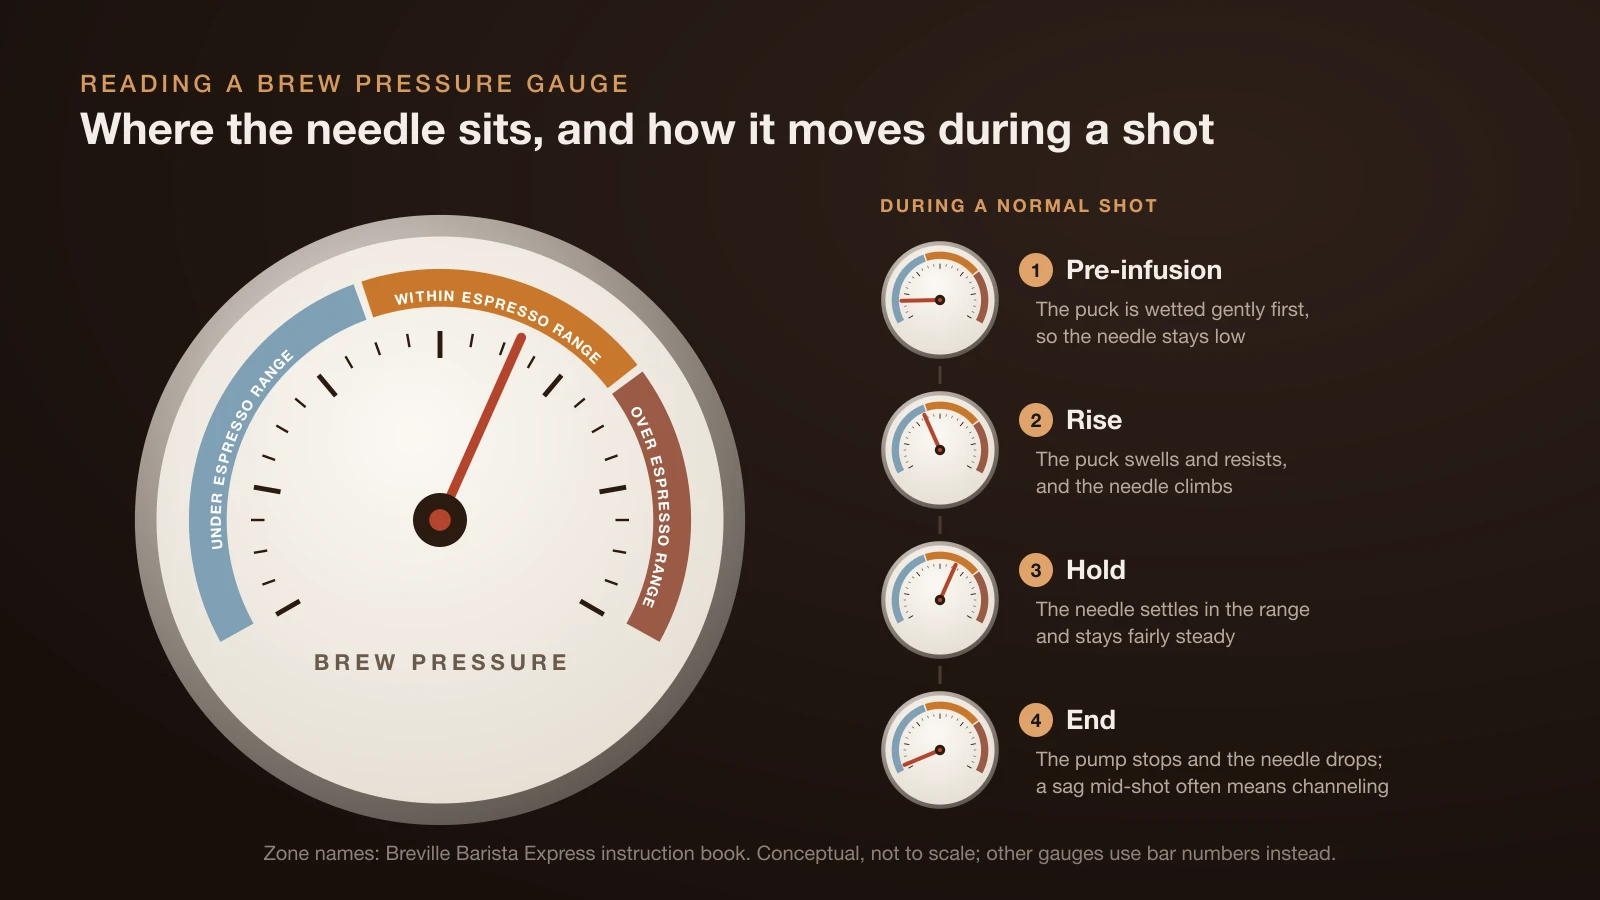
During a normal pump shot, the brew gauge stays low during pre-infusion, climbs to about 9 bar, holds there for most of the shot and falls when the pump stops. Each phase tells you something:
- Pre-infusion. Many machines wet the puck gently first. La Marzocco defines pre-infusion as saturating the puck “at a low pressure” before full pump pressure, using 3 bar or water line pressure on plumbed machines. Breville’s Barista Express applies “low pressure pre-infusion followed by 9 bar extraction.”
- Rise. As the puck swells and resists, the needle climbs. Breville expects the first drops after 8–12 seconds.
- Hold. The needle should settle in the brewing range and stay fairly steady. Breville says the dual pumps on its Dual Boiler help “maintain constant pressure throughout extraction.”
- End. The needle drops when the pump stops. A sag mid-shot means the puck is losing resistance, often from channeling; a bottomless portafilter shows where.
Breville’s espresso range zones
Breville’s Barista Express manual describes the gauge in three zones rather than bar values:
| Zone | What Breville describes | Fix |
|---|---|---|
| Under Espresso Range | Flow starts after 1–6 seconds, fast like water; thin, pale crema | Grind finer, increase dose |
| Within Espresso Range | Flow starts after 8–12 seconds, slow like warm honey; golden brown crema | Keep the recipe |
| Over Espresso Range | Flow starts after 12 seconds, drips or stops; “bitter and burnt” | Grind coarser, decrease dose |
Flair’s manual press gauge uses numbers instead: 6–9 bar is espresso made right, 1–5 bar means grind finer, 10–12 bar means grind coarser, and over 12 bar is a danger zone. Comparing Breville machines? See Breville Barista Express vs Pro.
Why the box says 15 bar when espresso brews at 9
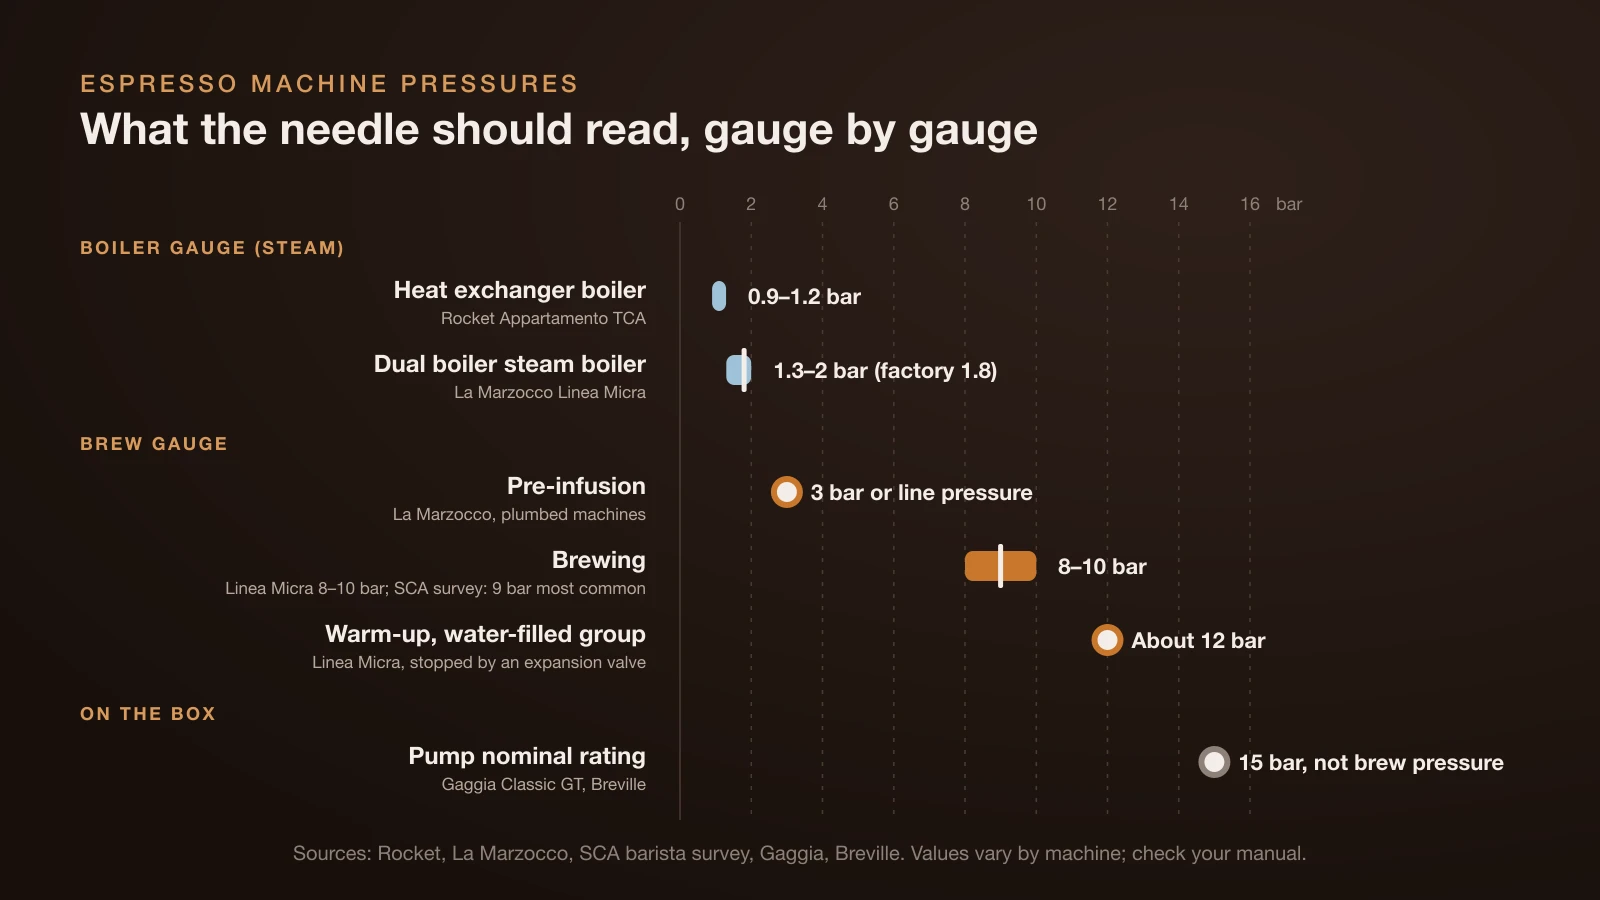
The 15 bar printed on many boxes is the pump’s nominal maximum, not the pressure your coffee sees, because a valve limits brewing to about 9 bar. Gaggia lists both numbers for its Classic GT: pump nominal pressure 15 bar, brewing pressure 9 bar. Breville pairs a “15 bar Italian pump” with 9 bar extraction, and its Dual Boiler manual says the OPV “limits maximum pressure.”
Nine bar is the long-standing target. The Specialty Coffee Association (SCA) heritage definition calls for water forced through the coffee at 9 to 10 atmospheres, and in an SCA survey of professional baristas, 9 bar was the most common brewing pressure (average 8.5 bar).
Is a high pressure espresso machine better?
A high pressure espresso machine is not better just because of the number on the box. The extra pump headroom sits behind the valve, and more pressure at the puck is not the goal: La Marzocco tells Linea Micra owners not to set the pump above 10 bars.
Bar vs psi
One bar equals 100,000 pascals and one psi about 6,895 pascals, according to the National Institute of Standards and Technology (NIST), so 1 bar is about 14.5 psi.
| Bar | Psi (rounded) | Where you see it |
|---|---|---|
| 1 | 14.5 | Heat exchanger boiler gauge |
| 9 | 130.5 | Brewing pressure |
| 12 | 174.0 | Expansion valve limit on a water-filled group |
| 15 | 217.6 | Nominal pump rating on the box |
Portafilter pressure gauges: testing and setting the OPV
A portafilter pressure gauge is a test tool: a gauge fitted to a portafilter that locks into the group like a normal handle, so you can read pump pressure on a machine without a brew gauge. With no coffee flowing, it shows the highest pressure the pump and valve allow.
That no-flow reading is how Gaggia sets pressure on the Classic GT, using its built-in gauge and a blind filter (a basket with no holes):
- Lock in the portafilter with the blind filter.
- Run the pump and read the gauge.
- Turn the external screw clockwise to raise the pressure or anticlockwise to lower it.
- Stop the pump at your target, then swap back to a normal basket.
Gaggia’s screw is factory-set at 9 bars, and the manual warns never to adjust with the 1 cup or 2 cup filters. La Marzocco instead adjusts the Linea Micra’s pump with coffee in the portafilter. A blind reading shows the valve’s limit, a reading with coffee shows what the puck sees, so follow your own manual.
For a quick health check, Breville’s Dual Boiler manual suggests locking in an empty Dual Wall basket and pressing MANUAL. Over 5 bars means the machine works; below that, Breville says to call support.
Espresso machine pressure profiling
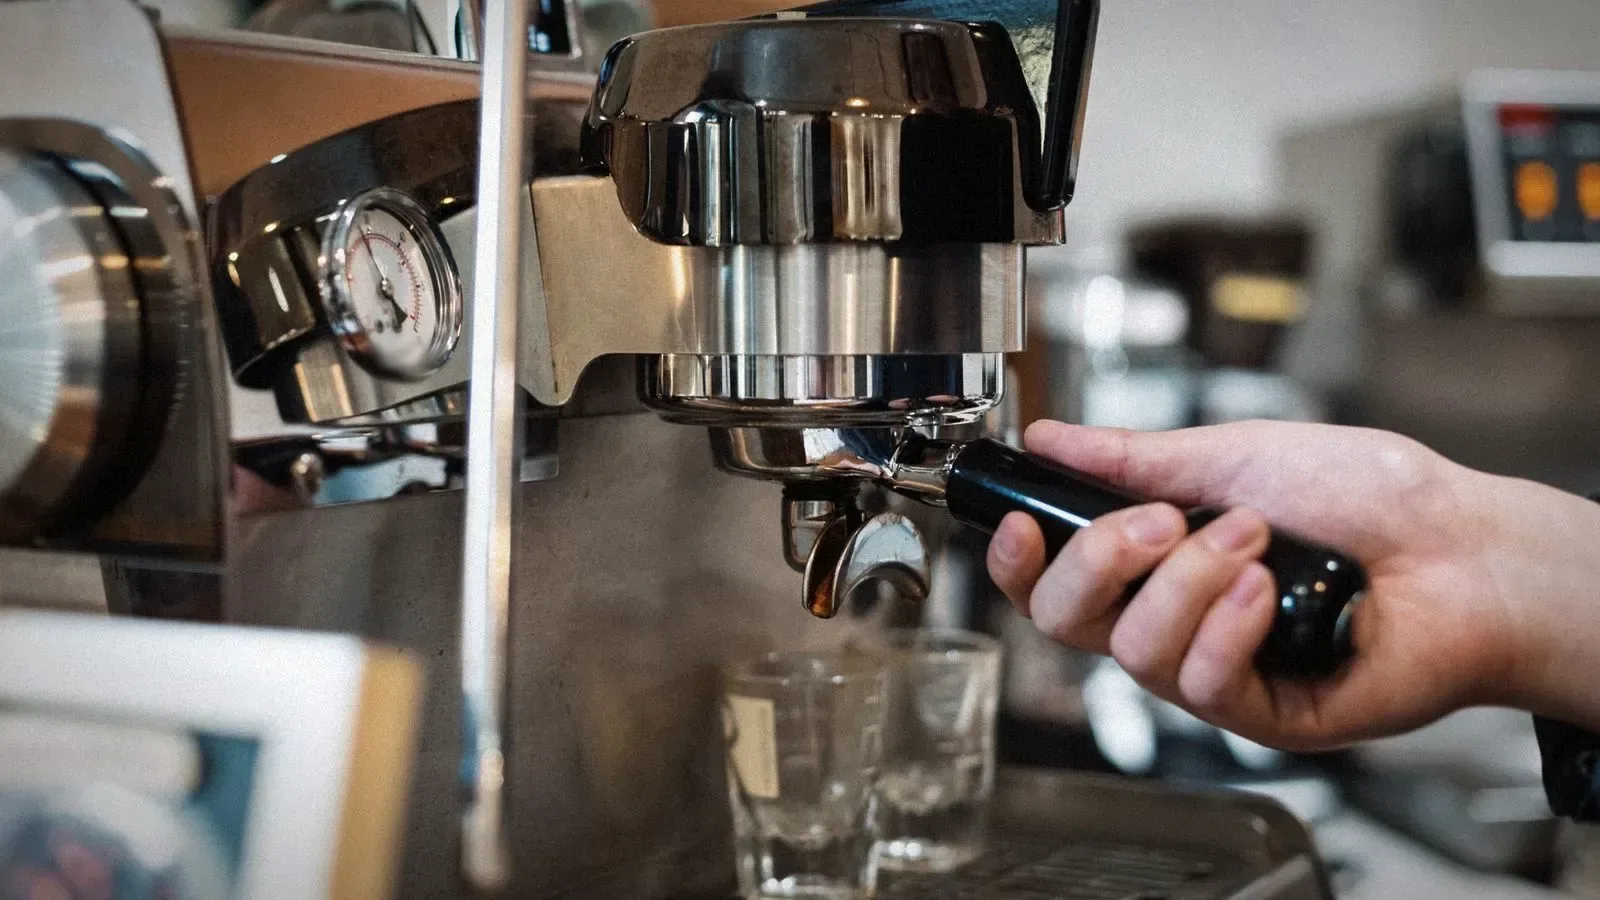
An espresso machine with pressure profiling lets you change the pressure during the shot instead of holding it flat at about 9 bar. La Marzocco defines pressure manipulation as “the use of variable pressure throughout the brewing process,” separate from pre-infusion and from pre-brewing, a short on-off-on burst that wets the puck.
Machines do it in different ways:
- Paddle and flow control. On La Marzocco’s GS3 MP, the paddle drives a conical valve that diverts water to the drip tray, so you can move “from 0 to 9 bars of pressure (and back down again)” while the group gauge shows the result.
- Levers. A spring lever peaks and then eases off as the spring extends; our guide to lever espresso machines explains the curve.
- Programmable pre-infusion. Breville’s Dual Boiler lets you set pre-infusion duration and power, recommending 5–15 seconds at a power setting of 55–65.
- Manual presses. Flair suggests pulling the lever to 2 bar, holding for 5–10 seconds, then brewing at 6–9 bar.
In the SCA survey, 52% of baristas used pre-infusion, and the authors called pressure profiling a frequent tool. It is still optional: a steady 9 bar shot, set up with our guide to dialing in espresso, is where every profile starts.
When the gauge reading looks wrong
Most strange gauge readings come from the puck, the basket or normal machine behavior rather than a broken gauge:
| What you see | Likely cause | What to do |
|---|---|---|
| Never reaches the range; shot runs fast | Coarse grind, low dose, light tamp or stale beans | Finer grind, more coffee, firmer tamp, fresher beans |
| Same reading whatever you change | Pressurized basket | Switch to a single-wall basket with fresh grounds |
| Brew gauge high at idle | Water expanding in a heated group | Normal up to the valve limit |
| About 1 bar during the shot | You are reading the boiler gauge | Normal on a heat exchanger |
| Needle never moves | Breville’s test: a rubber disc in the empty 1 cup basket should move it | If not, contact the manufacturer |
The bottom line
A brew pressure gauge should settle at about 9 bar during a shot, while a boiler gauge reads steam pressure of roughly 1 to 2 bar, so check which one you have before you worry. The 15 bar on the box is pump headroom, not brew pressure. Use the gauge to confirm grind, dose and tamp or to set an adjustable valve, and remember that brew temperature, shot time and taste still decide the cup.
Sources
- Specialty Coffee Association: Defining the ever-changing espresso (archived; 9 to 10 atmospheres; survey: 9 bar most common, 8.5 bar average, 52% pre-infusion)
- Breville: Barista Express BES870 instruction book (espresso range zones and flow times, Dual Wall baskets), Dual Boiler BES920 instruction book (OPV, constant pressure, pre-infusion settings, 8–12 second first drops, gauge troubleshooting and tests) and Barista Express product page (15 bar pump, 9 bar extraction)
- La Marzocco: Linea Micra operating manual (gauges, 12 bar warm-up limit, 8–10 bar brewing, pump set with coffee and not above 10 bars, steam boiler 1.8 bar and 1.3–2 bar), pre-brew, pre-infusion and pressure manipulation (3 bar or line pressure) and GS3 MP guide (0 to 9 bar paddle)
- Gaggia, Rocket and Flair: Classic GT technical sheet (15 bar pump, 9 bar brewing, OPV 6–12 bar) and manual (blind filter adjustment, 9 bars), Appartamento TCA sheet (1.8 L boiler, 0.9–1.2 bar), Giotto FAST (dual gauge), Flair Classic pressure kit guide (gauge zones, 2 bar pre-infusion)
- National Institute of Standards and Technology: Guide to the SI, Appendix B.8 (bar and psi conversion factors)